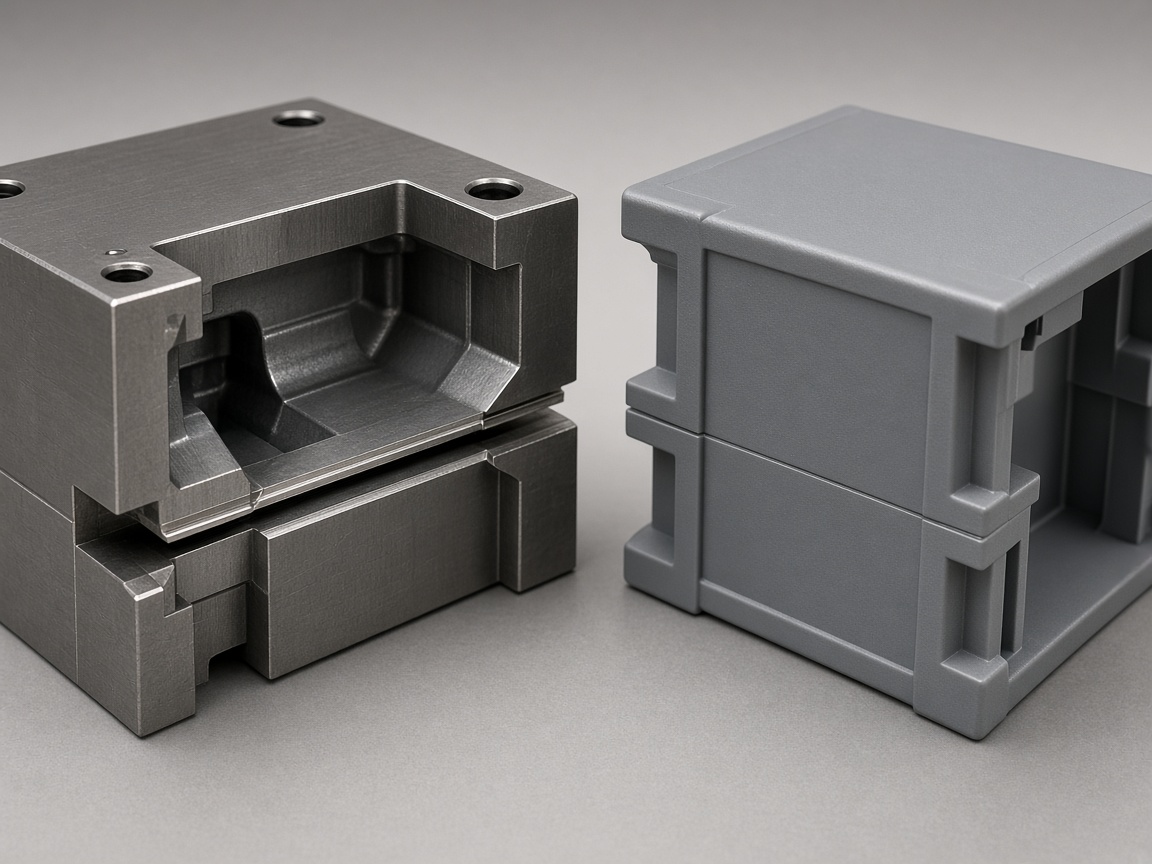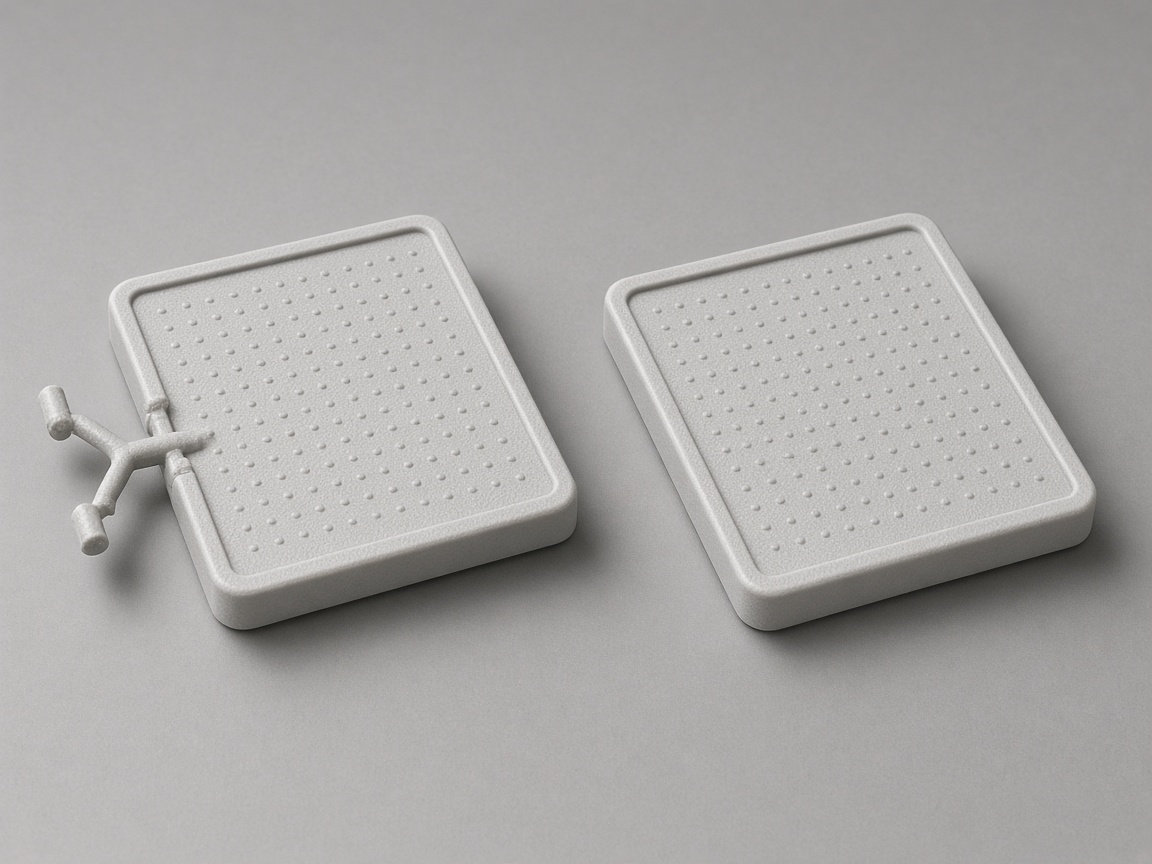
Does Higher Clamp Pressure Always Stop Flash?
What Does Higher Clamp Pressure Do to Flash?
Buyers ask does higher clamp pressure stop flash when a feather shows at the parting line. Clamp force holds the mold closed against the injection pressure of the melt. Raising it can reduce flash when the press was genuinely short of tonnage. It does not repair worn shutoffs, blocked vents, or a parting-line gap that the steel itself cannot contain.
This page answers only the clamp-pressure question. For the defect definition and the wider cause list, use flash in injection molding. Do not treat a clamp increase as a general flash troubleshooting guide.
Flash is extra plastic that left the designed cavity. A higher clamp setting is one lever on the press. It helps when the platens were opening under the shot. It fails when the steel already has a leak path, when vents are packed with debris, or when pack pressure was raised until the parting line opened. Buyers who ask "does higher clamp pressure stop flash" usually need that split, not a new tonnage stamp on the drawing.
Reviewers can review the parting line and the press-class note on the same CAD package. That review starts from where the flash sits and how the tool has been running. It does not start from a buyer-invented clamp number.
Key Facts
- Flash is excess plastic that escapes past the designed parting line or shutoff edge. It is not a witness line or a mold mark. A witness can stay. Flash is material that should not have left the cavity.
- Higher clamp force helps only when the press's available tonnage was the root limitation. If the tool was already held closed and still leaked, more clamp is the wrong first move.
- Worn shutoffs, debris on the parting-line surface, and blocked vent paths still produce flash regardless of clamp pressure. A larger press does not close a damaged edge.
- Excessive clamp force on a small or lightly built tool can deflect the platens and actually worsen flash toward the center of the cavity. More force is not a free upgrade.
- Do not stamp a clamp-tonnage value on the part drawing. See how to calculate clamping force when you need an estimate of required force. Keep that estimate off the cosmetic drawing.
- Invented press-capacity values, force multipliers, and section-thickness thresholds are not published here. Press class and steel condition stay program-specific.
Keep these facts on the RFQ as history, not as a prescribed machine setting. "Flash at this edge after a pack change" is a useful note. "Run at a named clamp number" is not.
When Raising Clamp Is the Wrong First Move
Raise clamp only after you have ruled out a steel or pack cause you already know. The cases below are the usual traps.
Worn shutoffs and damaged edges
More clamp does not repair worn shutoffs. Flash is located at a known worn shutoff, insert nest, or damaged parting-line surface. If the same corner flashed on the last lot, and the photos match, the edge is the problem. More clamp will not restore steel that has rolled, nicked, or worn. Mark the edge and ask for a shutoff review.
Flash appeared after a steel modification or process parameter change, not after a press swap. A welding repair, a new insert, a gate change, or a pack increase can open a path that the previous process contained. Start with what changed. Do not assume the press lost force overnight.
Crushed vents and platen deflection
Parts already show crushed vents, witness lines from platen deflection, or oil-canning on the core side. Those marks say the tool is already seeing too much clamp or an uneven load. Adding force here can close vents you still need and move flash toward the center. Ask for a vent and platen check before anyone raises the setting.
Pack pressure changes that opened the seam
Pack pressure was increased to correct a sink condition. See sink marks and pack pressure adjustment. The parting line subsequently opened. The sink fix and the flash are the same story. The cavity was packed harder than the shutoff could hold. Write the pack history on the RFQ. Do not hide it behind a clamp request.
Flash that starts only after a long run, then grows, often points to heat, debris, or wear, not to a press that was short from shot one. First-shot flash and late-run flash are different notes. Write which one you have.
Flash at an insert or a moving core is a nest and shutoff problem until proven otherwise. Clamp holds the two mold halves together. It does not replace a local insert fit. Photograph the insert line the same way you photograph the parting line.
If the tool moved from one press to another and flash appeared only after the move, then press class and platen support belong in the note. That is the rare case where clamp capacity may be the real limit. Still describe the edge and attach photos. Do not write the new press size as a drawing callout.
What to Put on the RFQ Instead of a Tonnage Number
Describe where the flash appears on the part and whether it is present on the first shot or develops after a production run. "Gate-side parting line, first shot" and "insert nest, after a long run" lead to different reviews. A single word, "flash," does not.
State the resin family and whether pack pressure was adjusted to address sink or knit-line concerns. Soft, filled, and easy-flow grades do not flash for the same reason. A pack change to hide sink is a common partner of a new flash line. Write both facts in one note.
Photos are better than numbers
Attach photos of the flashed edge taken under consistent lighting. Include a scale reference in the frame if you can do so without adding a dimension callout. Show the mating steel face if the tool is available. A close crop of the feathered plastic is more useful than a whole-part hero shot.
Let reviewers review the parting-line design and press-class requirements. Use the clamping force glossary when you need the definition of force versus machine rating. Keep any force estimate in the quote notes, not as a stamped maximum on the part drawing.
New tool vs running tool
If the tool is already running, say whether flash was always there, appeared after a steel change, or appeared after a process change. Attach the last accepted lot photo next to the current reject when you have both. That pair is the history a clamp increase cannot replace.
If the part is new, say you want the parting line reviewed before steel is cut. Ask reviewers to flag shutoffs, inserts, and vents that are likely to flash if pack is later raised. That is a design note. It is not a request for a published clamp formula.
Do not write "increase clamp until flash stops" as an inspection method. That sentence hides worn steel and blocked vents. Write the acceptance rule instead: no flash past the designed edge on the named faces, or a stated trim allowance if a cosmetic A-side vs hidden face may carry a small feather.
RFQ Checklist
Use these five steps when flash is already a concern, or when you want the parting line reviewed before T1.
- Mark the flashed edge on a photo or annotate it directly on the CAD model. Name the feature: parting line, insert nest, slide shutoff, or vent land. One marked edge is better than a general "flash risk" note.
- State the resin family and note any recent pack-pressure adjustments. If pack was raised to chase sink or a knit, write that in the same sentence. If the knit sits in a boss, see knit lines in screw bosses.
- Indicate whether the tool is new or has an existing production history. For a running tool, say whether flash is first-shot or late-run, and attach the last good lot if you have it.
- Do not write a maximum-clamp callout as the prescribed solution. Leave press class and force estimates in the quote discussion. See the clamp article for how those estimates are framed.
- Upload CAD through the instant quote platform for DFM review. Include the photos and the flash history in the same package.
If another shop already flashed the part, send that history with the CAD. The next review should start from the failed edge, not from a blank process sheet.
A clamp number on the drawing does not travel well. Presses, platens, and tool stacks differ. A marked photo and a pack note do. That is the package DFM can use.