IML vs Pad Printing vs Labels: Which Route to Quote
In mold labeling (IML) places a printed film in the mold cavity before injection so molten plastic fuses with the label and the graphic becomes the outer wall of the part. This article is a buyer-side routing guide: when to choose IML over pad printing or applied labels, not a deep dive on IML machinery or film chemistry. Decoration is a mold program decision, not a print-shop decision. Gate location, ejector keep-outs, cavity steel, T1 art changes, and RFQ inputs all move with the route you name. For step-by-step IML mechanics, see In Mold Labeling: A Printed Label That Becomes the Wall.
What each method actually changes in the mold program
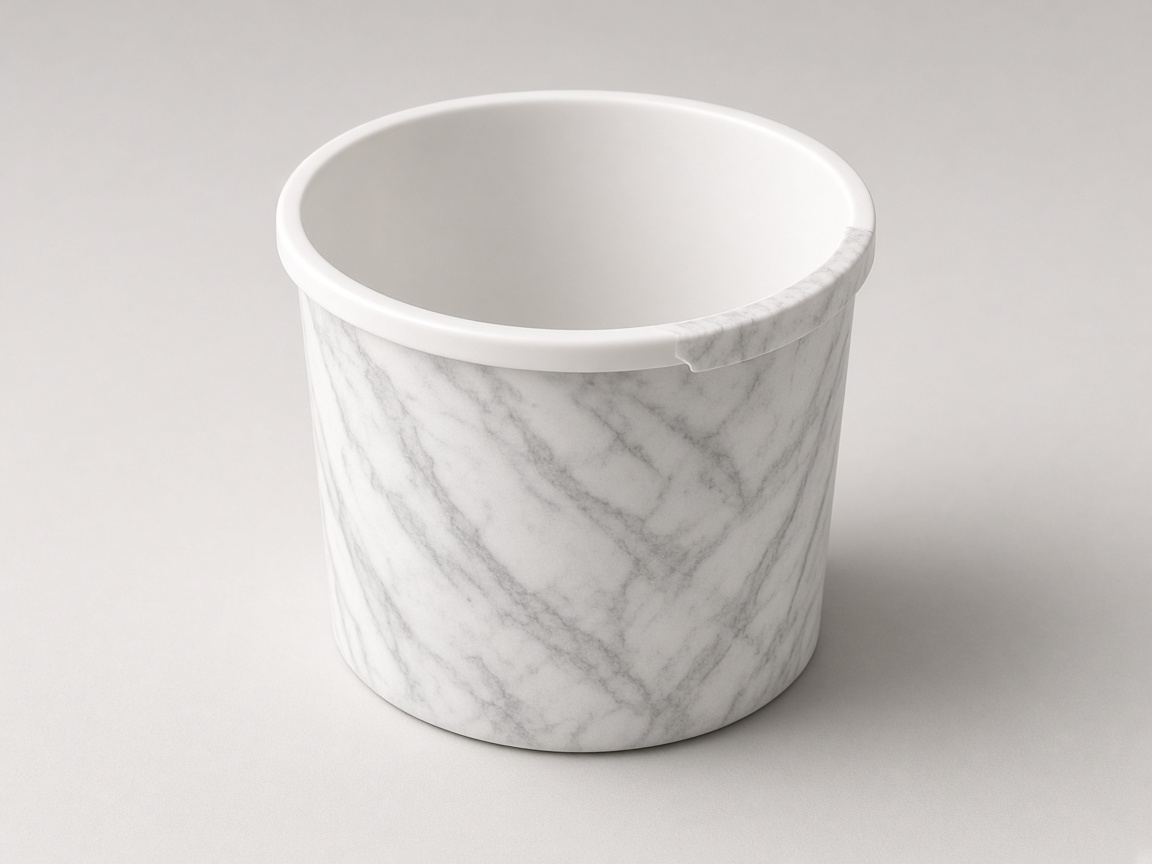
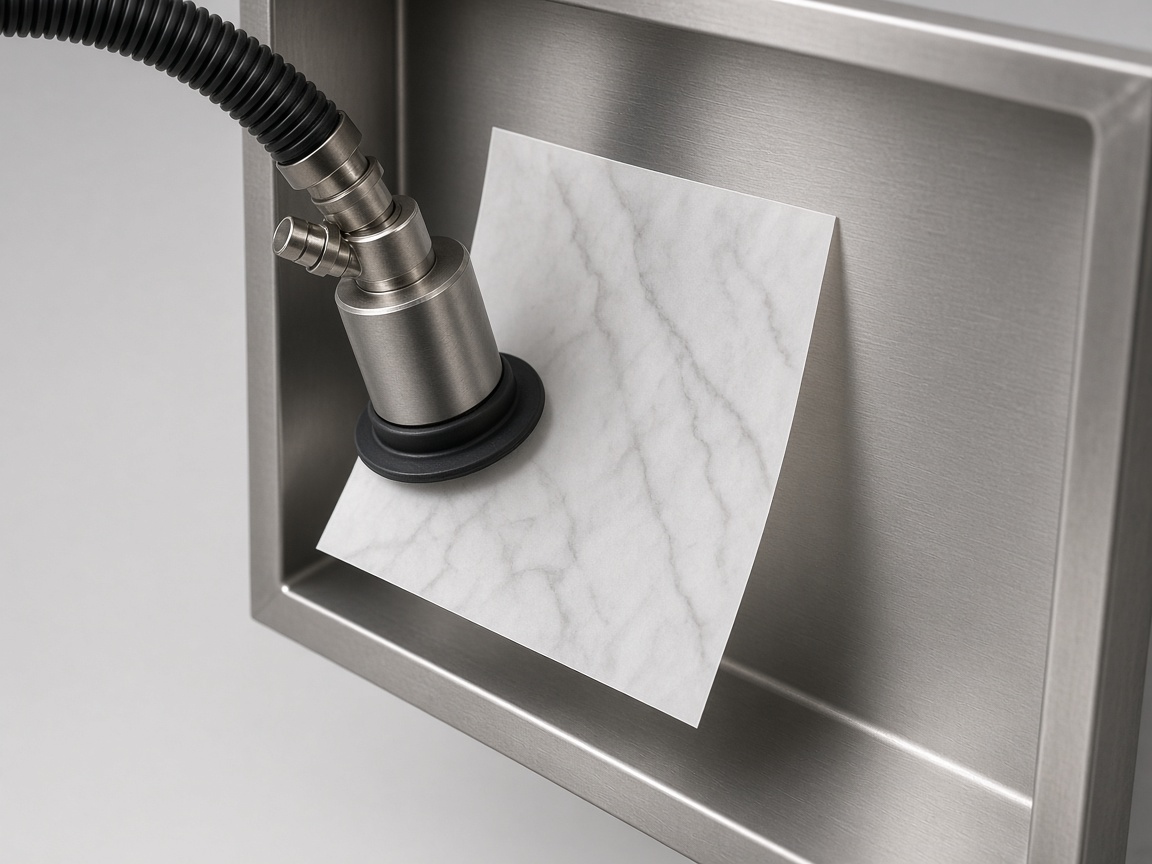
In mold labeling is a decoration method used with standard plastic injection molding, not a separate molding process. A pre-cut label film (often polypropylene or a similar olefin) is positioned on the cavity wall, the mold closes, and resin fills behind the film. Heat and pressure bond the label to the part surface so the print sits on the outside, protected by the film layer.
Pad printing and applied labels happen after the shot. They leave the cavity closer to a standard steel tool, but they still interact with the A-side (cosmetic face) vs B-side split, ejector witnesses, and the finish you specify. Teams compare IML with post-mold ink and stick-on options because each route changes tooling coordination, artwork change cost, and surface durability. Film stack-ups, static versus vacuum placement, and line integration belong on the process spoke linked above.
Key Facts
- IML is a decoration method, not a separate molding process.
- The label film sits in the cavity before the shot, so the graphic becomes part of the wall, not a sticker or post-mold ink layer alone.
- Pad printing applies ink after molding and is easier to revise once the hardened steel tool already exists.
- Applied labels and shrink sleeves are secondary operations with adhesive, peel, or shrink-fit limits on curved or high-wear faces.
- Artwork that will change frequently after first samples (T1) usually favors pad printing or labels over IML film swaps.
- Surfaces exposed to abrasion, wash-down, or chemical wiping are where IML often justifies extra pre-tooling coordination.
- The RFQ should name the decoration route before steel is cut so gates, ejectors, and keep-out zones stay compatible with film handling.
IML: when the graphic is the wall
IML earns its place when the decorated face is large, curved, or subject to wear and when the graphic is stable across a long production run on one hardened steel tool. Decoration usually sits on the A-side (cosmetic face), so film placement, gate location, and ejector keep-outs have to be planned together.
High cosmetic area under harsh use. Consumer tubs, pails, appliance bezels, and equipment panels that see repeated wiping, sanitizer, or handling benefit when the decoration is fused into the wall. Post-mold ink can scuff; adhesives can lift at edges. IML puts the print under the outer film so normal wipe-down targets the same surface as the part.
High repeat volume on one graphic. IML setup ties art to a specific film layout and cavity handling plan. When the same branding runs for the life of the part on a single tool, the per-part decoration labor after startup is low. Programs with many SKU graphics or seasonal art rotations often spend less overall on pad printing or applied labels even if per-part secondary cost is higher.
Branding across a curved wall or hiding a witness line. IML film can wrap partial curvature and cover areas where pad print coverage or label edge lift would show. That is common on closures and thin-wall packaging where a flat pressure-sensitive label cannot follow the radius cleanly.
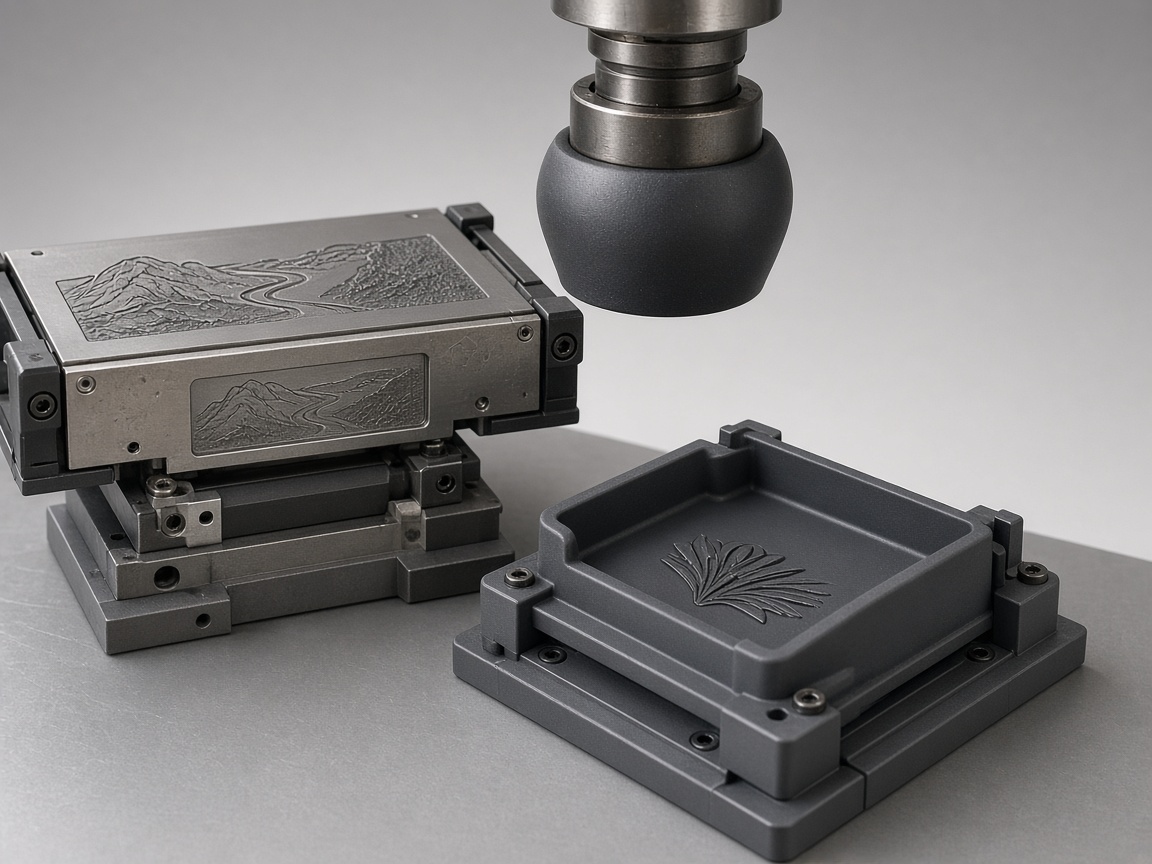
IML is not "a standard mold with a film dropped in." The cavity often needs extra work for label thickness, gate position, robot or fixture access, and keep-outs so the film does not wrinkle or land on an ejector. Those steel and handling choices belong on the RFQ before tooling release.
Decision checklist
- Graphic life / revision cadence. Count how many art releases you expect before production stabilizes and after launch. IML changes usually mean new film and validation shots, not a quick plate tweak.
- Wash chemistry and wipe exposure. Describe solvents or cleaners in plain language on the RFQ. Do not assume a decoration will pass a specific test hour count unless your quality team defines it.
- Curve complexity and decorative coverage. Mark the faces that must carry art on CAD. Complex curvature favors IML or pad print; flat panels tolerate labels more often.
- Cavity film-handling plan. Ask whether label placement affects gate location, ejector pins, or side-action keep-outs. Those details should be resolved in DFM before tooling release on NetProto programs.
NetProto builds one hardened steel injection mold per part program and runs it for repeat production with no minimum order quantity on parts, with instant CAD quoting and DFM feedback before tooling release. Decoration still must be scoped explicitly on the RFQ so molding and secondary steps quote together.
Pad printing: when art changes after T1
Pad printing uses a silicone pad to transfer ink from an etched plate onto molded surfaces, including domes and recessed areas. Plate changes are relatively fast after T1, which helps teams still iterating logos or regulatory text. Durability is moderate: adequate for many indoor handheld housings that are not scrubbed daily with aggressive chemistry. For pad process limits and quote inputs, see Pad Printing on Injection Molded Parts.
Pad printing does not recut the cavity for a film pocket, but bad placement still clashes with the mold program. Ink that lands on ejector pins, parting lines, or a glossy SPI surface finish can read as a defect even when the print itself is in spec. Mark print zones on the CAD relative to gates and ejection before you lock steel.
Applied labels and sleeves: when the mold should stay independent of art
Applied labels (pressure-sensitive or heat-transfer) and shrink sleeves add decoration after molding. Tool impact is minimal, which fits prototypes, short runs, and variable SKU programs where tooling-linked film is hard to justify. Edges, adhesive creep, and shrink tolerance on tight radii are the usual failure modes.
Pressure-sensitive labels can hide sink and weld lines from a first glance, but they do not fix the molded defect. If the label is later removed, reprinted, or left off a SKU, the witness is still in the plastic. Treat labels as a decoration route, not a cosmetic cover for DFM issues that belong in the DFM guide.
Other mark options. When the goal is permanent part identification rather than full-color branding, laser etching on molded surfaces is another post-mold route to compare against ink. NetProto also supports painting, silk screening, pad printing, and assembly under secondary operations when those steps are listed on the RFQ.
IML vs pad printing vs labels: decision matrix
Use this matrix to pick a first-quote route. Durability and art-change cost still depend on the resin, film or ink system, and the exposure you name on the RFQ.
| Method | Best for | Avoid when | Tooling impact | Art-change cost |
|---|---|---|---|---|
| IML | Long-run branded walls, curved faces, wipe-down parts | Late SKU art or frequent graphic swaps after T1 | Higher: film pocket, gate, robot or fixture access | Higher: new film and revalidation |
| Pad printing | Domes, recesses, regulatory text, late art | Full-wrap curves or daily abrasive wipe-down | Low on cavity steel; keep-outs still matter | Low to mid: new plate |
| Label or sleeve | Prototypes, short runs, variable SKUs | Harsh wipe, moisture cycling, or chemical attack | None or minimal on the mold | Low: new label stock |
Decoration inputs to send with your CAD upload
Locking decoration late forces gate moves, ejector conflicts, or a route change after steel is cut. Review the DFM guide for gate, ejection, and finish interactions, then send these items with your CAD upload:
- Mark decorated faces on the CAD. Use a layer or note that shows every surface that must carry art, warnings, or brand color.
- State the route: IML, pad print, applied label, laser mark, or undecided with a preferred default.
- Attach print-ready art or a placeholder plus the file format and your expected revision cadence (for example, marketing updates quarterly).
- Describe wear, UV, or chemical-wipe requirements in plain words. Reference your internal spec if you have one; do not invent public test-hour claims in the RFQ.
- Name the surface finish on decorated faces, including the SPI grade if gloss or texture is cosmetic.
- Ask whether IML film handling affects gate, ejector, or keep-out planning so DFM can comment before tooling release.
Commercial part tolerances for molded dimensions belong in the published manufacturing standards table; decoration alignment tolerances should match what your art and film supplier can hold, then be confirmed on T1 samples.
RFQ traps that move gates, ejectors, or cavity steel
These are the decoration decisions that quietly rewrite the tool:
- IML film thickness and robot access that force a gate off the preferred fill path.
- Print or film keep-outs that collide with ejector pins on an A-side face.
- A late switch from labels to IML after the cavity is already cut.
- Glossy SPI faces specified where pad ink or a label edge will sit.
- Mixed decoration (IML front, pad-print back) that was never sequenced on the RFQ.
Call those items out before steel is released. A short note on the CAD upload is enough for DFM to flag the conflict.
Related reading
- In-mold labeling process
- Pad printing on molded parts
- Part surface finish options
- Instant quote platform
Next Steps
Upload CAD, mark decorated faces, and name your preferred decoration route (or list two options) so DFM can catch keep-out, gate, and ejector conflicts early. Use the instant quote platform for pricing and DFM feedback on qualified programs; production timing depends on part size and complexity once tooling is released.
Upload your CAD for instant DFM feedback and pricing when you are ready to compare IML, pad printing, and labels on the same part geometry.